Why Over Easy Eggs Are the Perfect Breakfast Foundation
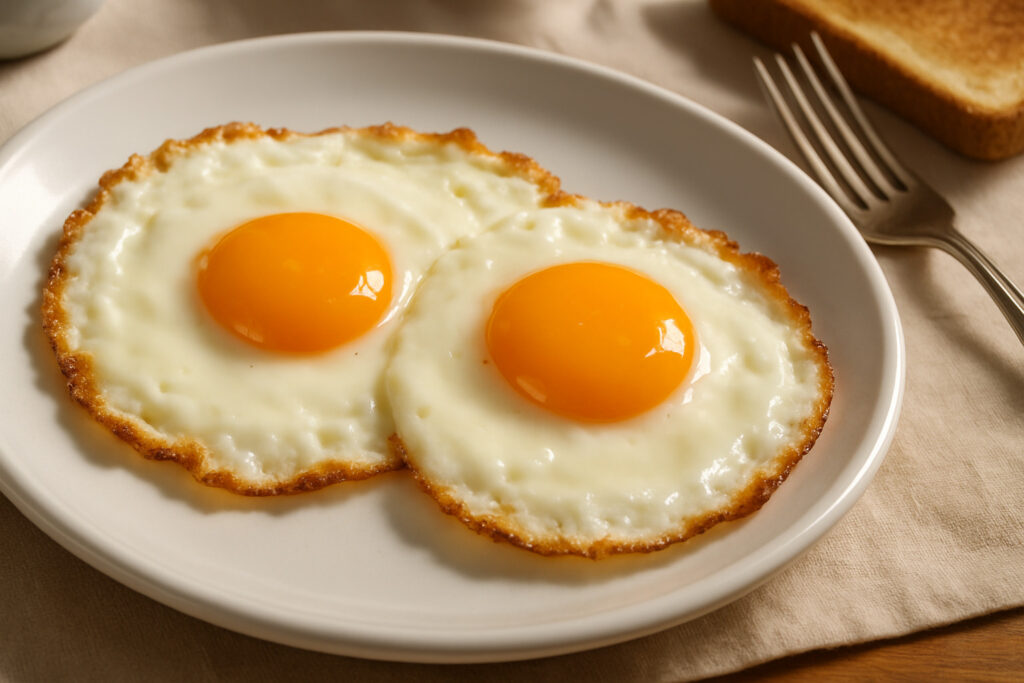
Over easy eggs are fried eggs cooked on both sides with fully set whites and a runny yolk that stays liquid until you cut into it. This classic cooking method creates the ideal balance between safety and flavor – the whites are completely cooked while the golden yolk remains creamy and rich.
Quick Over Easy Eggs Guide:
- Cook time: 1.5-2 minutes first side, 15-60 seconds after flipping
- Key technique: Flip when whites are opaque and edges are dry
- Perfect result: Firm whites with runny yolk intact
- Best served: Immediately while hot
Over easy eggs rank among the four most popular fried egg styles alongside sunny side up, over medium, and over hard. The technique requires patience and practice, but once you nail it, these eggs become incredibly versatile. They work perfectly on avocado toast, breakfast sandwiches, or rice bowls where that runny yolk acts like a natural sauce for everything on your plate.
What Are Over Easy Eggs and How Do They Differ?
When you order over easy eggs at your favorite diner, you’re asking for something quite specific: eggs that have been flipped during cooking but still have that golden, runny yolk waiting to be broken. The “over” part tells your cook to flip the egg, while “easy” is diner speak for keeping that yolk as liquid as possible.
What makes over easy eggs special is their perfect balance. The whites get fully cooked and set on both sides, while the yolk gets just a whisper of heat on its second side – usually 15 to 60 seconds – which creates a thin, cooked layer around a completely runny center.
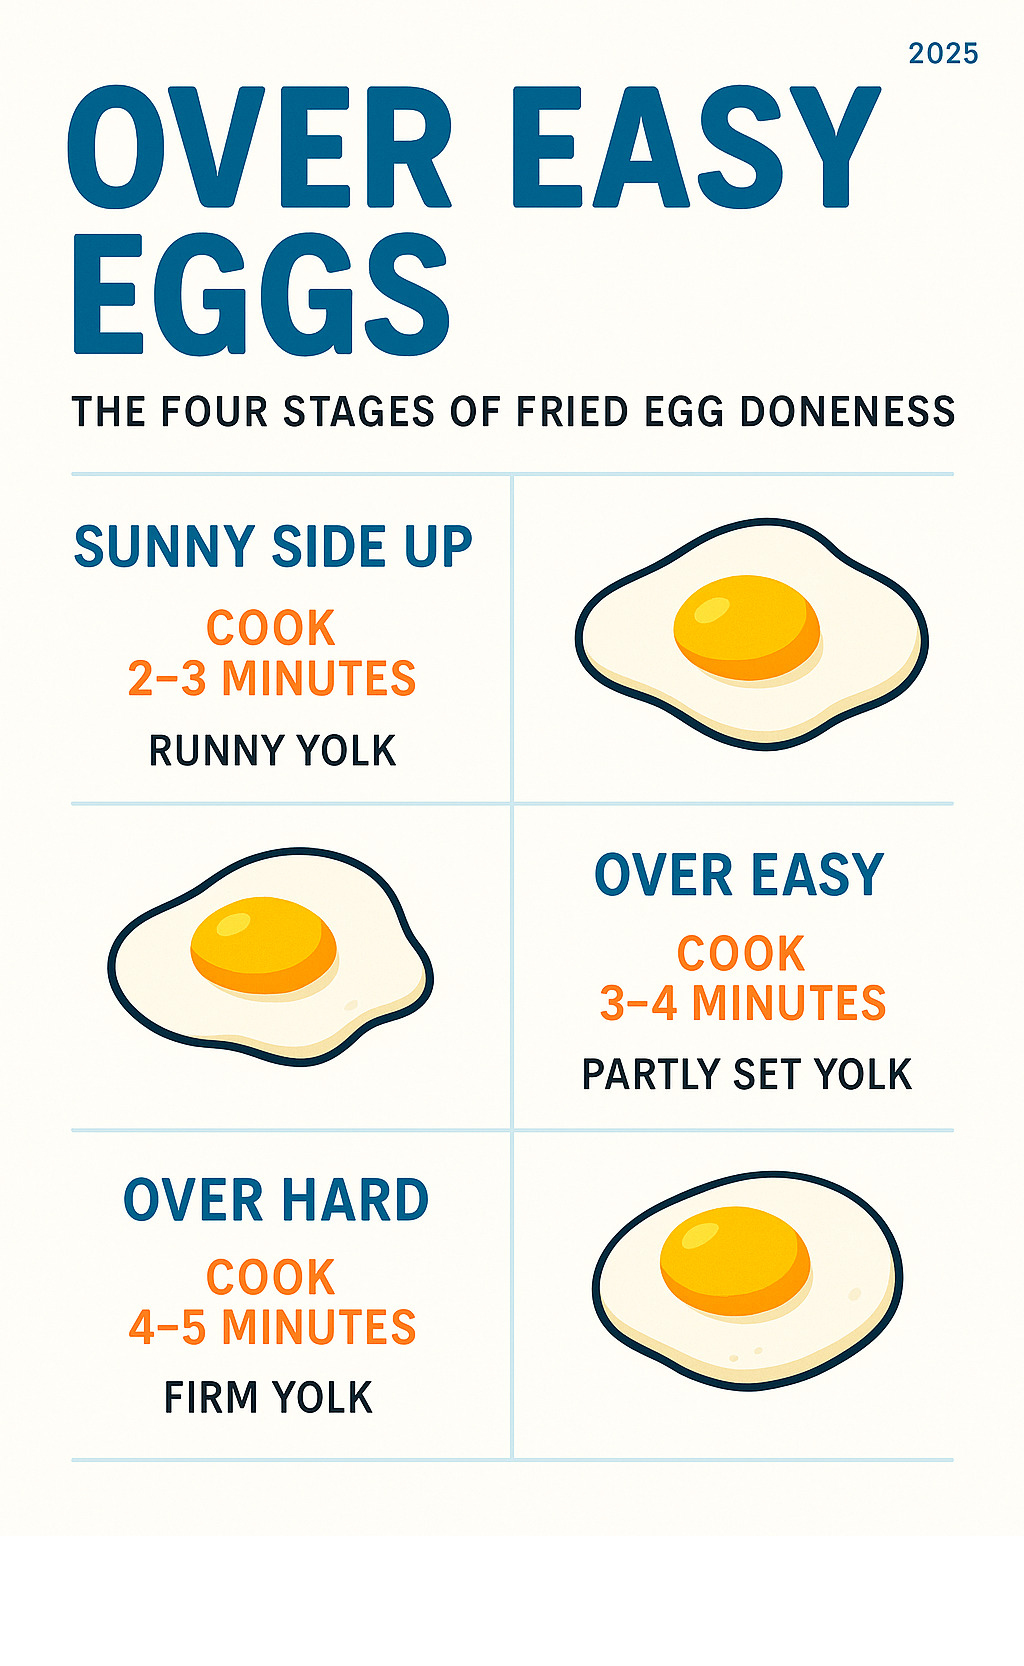
Here’s how the main fried egg styles stack up:
| Style | Cooking Method | Whites | Yolk | Cook Time |
|---|---|---|---|---|
| Sunny Side Up | One side only | Set | Completely runny | 2.5-3.5 minutes |
| Over Easy | Flipped briefly | Fully set | Runny center | 1.5-2 min + 15-60 sec |
| Over Medium | Flipped longer | Fully set | Partially set, jammy | 1.5-2 min + 1-2 min |
| Over Hard | Flipped until done | Fully set | Completely set | 1.5-2 min + 2-3 min |
Sunny Side Up vs. Over Easy Eggs
The big difference between sunny side up and over easy eggs comes down to one simple move: the flip. Sunny side up eggs never get turned over, often leaving slightly undercooked, translucent whites around the yolk.
Over easy eggs solve the undercooked white problem beautifully. That quick flip ensures every bit of white gets properly set against the hot pan. The yolk still stays runny, but it gets a protective coating that makes it less messy to eat.
Over Easy Eggs vs. Over Medium & Over Hard
Think of the “over” family as a spectrum of yolk doneness, with over easy eggs at the runniest end. Over medium eggs spend 1-2 minutes on their second side, creating a “jammy” yolk that’s partially set. Over hard eggs go the distance with 2-3 minutes on the second side, cooking the yolk completely through.
Essential Tools and Ingredients for Perfect Over Easy Eggs
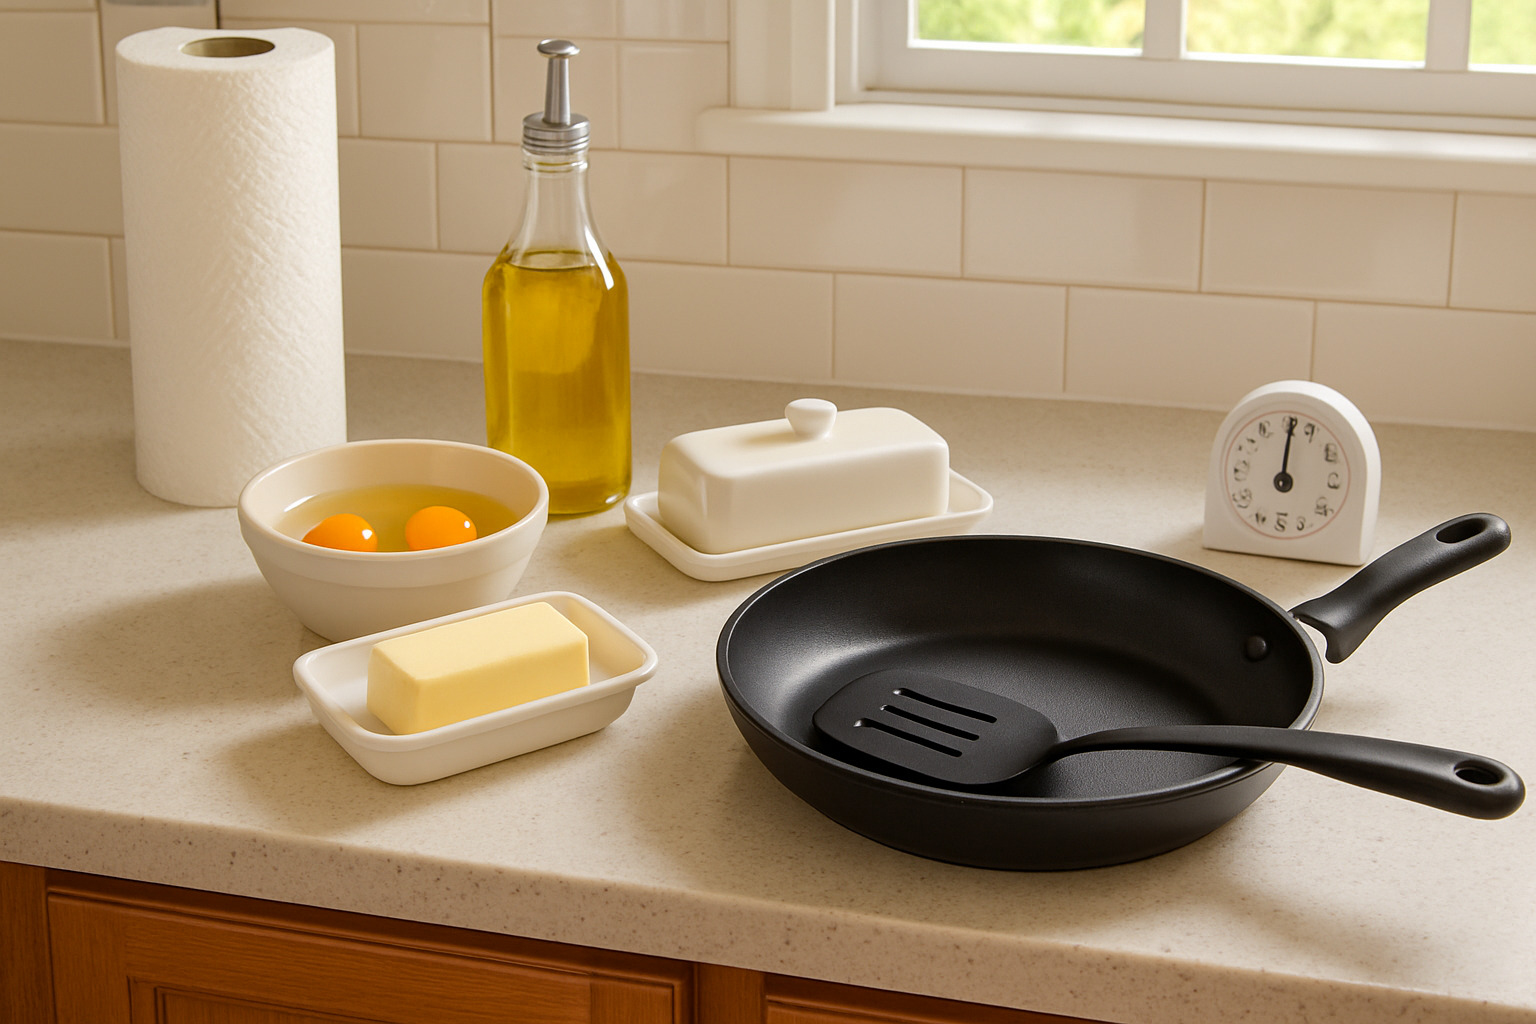
Cooking perfect over easy eggs isn’t about fancy equipment – it’s about having the right basics ready to go. Fresh, large eggs make the biggest difference in your results. The fresher your eggs, the firmer the whites will be, which means they’ll hold their shape beautifully in the pan.
Your skillet choice comes down to two solid options: a well-seasoned nonstick pan or a trusted cast iron skillet. An 8-10 inch diameter gives you plenty of room to maneuver. The flip requires a wide, thin spatula – silicone works great with nonstick pans, while thin metal spatulas are perfect for cast iron.
You’ll need either unsalted butter for rich flavor or a neutral oil like avocado oil for crispier edges. Don’t forget kosher salt and freshly cracked black pepper for seasoning.
Heat control makes or breaks over easy eggs, so make sure your stovetop can maintain steady medium-low heat. When measuring ingredients for other breakfast components, our guide on how many tablespoons in a cup helps keep everything precise.
Best Pan & Fat Choices
Nonstick pans make over easy eggs almost foolproof because nothing sticks, even with minimal fat. Cast iron skillets bring subtle flavor depth that you can’t get from nonstick, though they need slightly more fat and attention.
Butter creates magic with eggs, browning slightly as it cooks and adding rich flavors. The downside? Butter can burn if your heat gets too high. Neutral oils handle higher heat better and create crispy, golden edges.
According to scientific research on egg nutrition, eggs provide excellent protein and nutrients regardless of your cooking fat choice.
Mise en Place Checklist
Room temperature eggs cook more evenly than cold ones. Pull them out about 15-20 minutes before cooking. Crack your eggs into a small bowl first instead of directly into the pan – this lets you check for broken yolks and gives you complete control.
Keep your spatula within arm’s reach and have paper towels handy for quick cleanup. Get your serving plate ready so you can transfer those perfect eggs immediately.
Step-by-Step Method: One Simple Way to Cook Over Easy Eggs
Mastering over easy eggs doesn’t require years of culinary school. The secret lies in understanding temperature control and trusting the process rather than rushing through it.
Start by preheating your pan over medium-low heat for 2-3 minutes. This corresponds to about setting 3-4 on most stovetops. The pan should feel warm when you hold your hand a few inches above it, but not blazing hot.
Add your cooking fat and let it heat until ready. Butter should melt and bubble gently without turning brown, while oil should shimmer but never smoke.
Pour the egg gently from your bowl, staying close to the pan surface. Season immediately with a pinch of kosher salt while the whites are still wet.
Now comes the hardest part: waiting patiently for 1.5-2 minutes without touching anything. The egg will transform from translucent to opaque white during this time.
When the visual cues tell you it’s time, flip with confidence using one smooth motion. Cook briefly on the second side for just 15-60 seconds, then slide onto a warm plate and serve immediately.
Cue #1: When to Flip Over Easy Eggs
Learning to read your egg makes all the difference between success and scrambled disappointment. Watch for the whites to turn completely opaque – no more clear, jelly-like appearance around the edges. The edges should look dry and slightly curled.
You’ll notice only about half an inch of translucent white remains around the golden yolk. When you gently shake the pan, the white should jiggle as one solid piece rather than sloshing around like liquid.
Here’s a professional trick: slide your spatula gently under one edge of the white. If it holds together without tearing and feels firm but not rubbery, you’re ready to flip.
Cue #2: Flipping Over Easy Eggs Without Breaking the Yolk
The moment of truth arrives with the flip, and it’s not nearly as scary as most people think. The key is committing to the motion rather than hesitating halfway through.
Slide your spatula completely under the egg, getting it well past the center of the yolk. Lift the egg about an inch above the pan – you’re not trying to impress anyone with acrobatic flips.
Tilt the pan slightly away from you to create more landing space. Execute the flip with one smooth, confident motion – no stopping, no second-guessing, just a fluid movement that becomes natural with practice.
Let the pan rise to meet the egg rather than dropping it from height. This gentle approach protects the yolk and prevents that heart-sinking splat sound.
Timing Guide for Over Easy Eggs
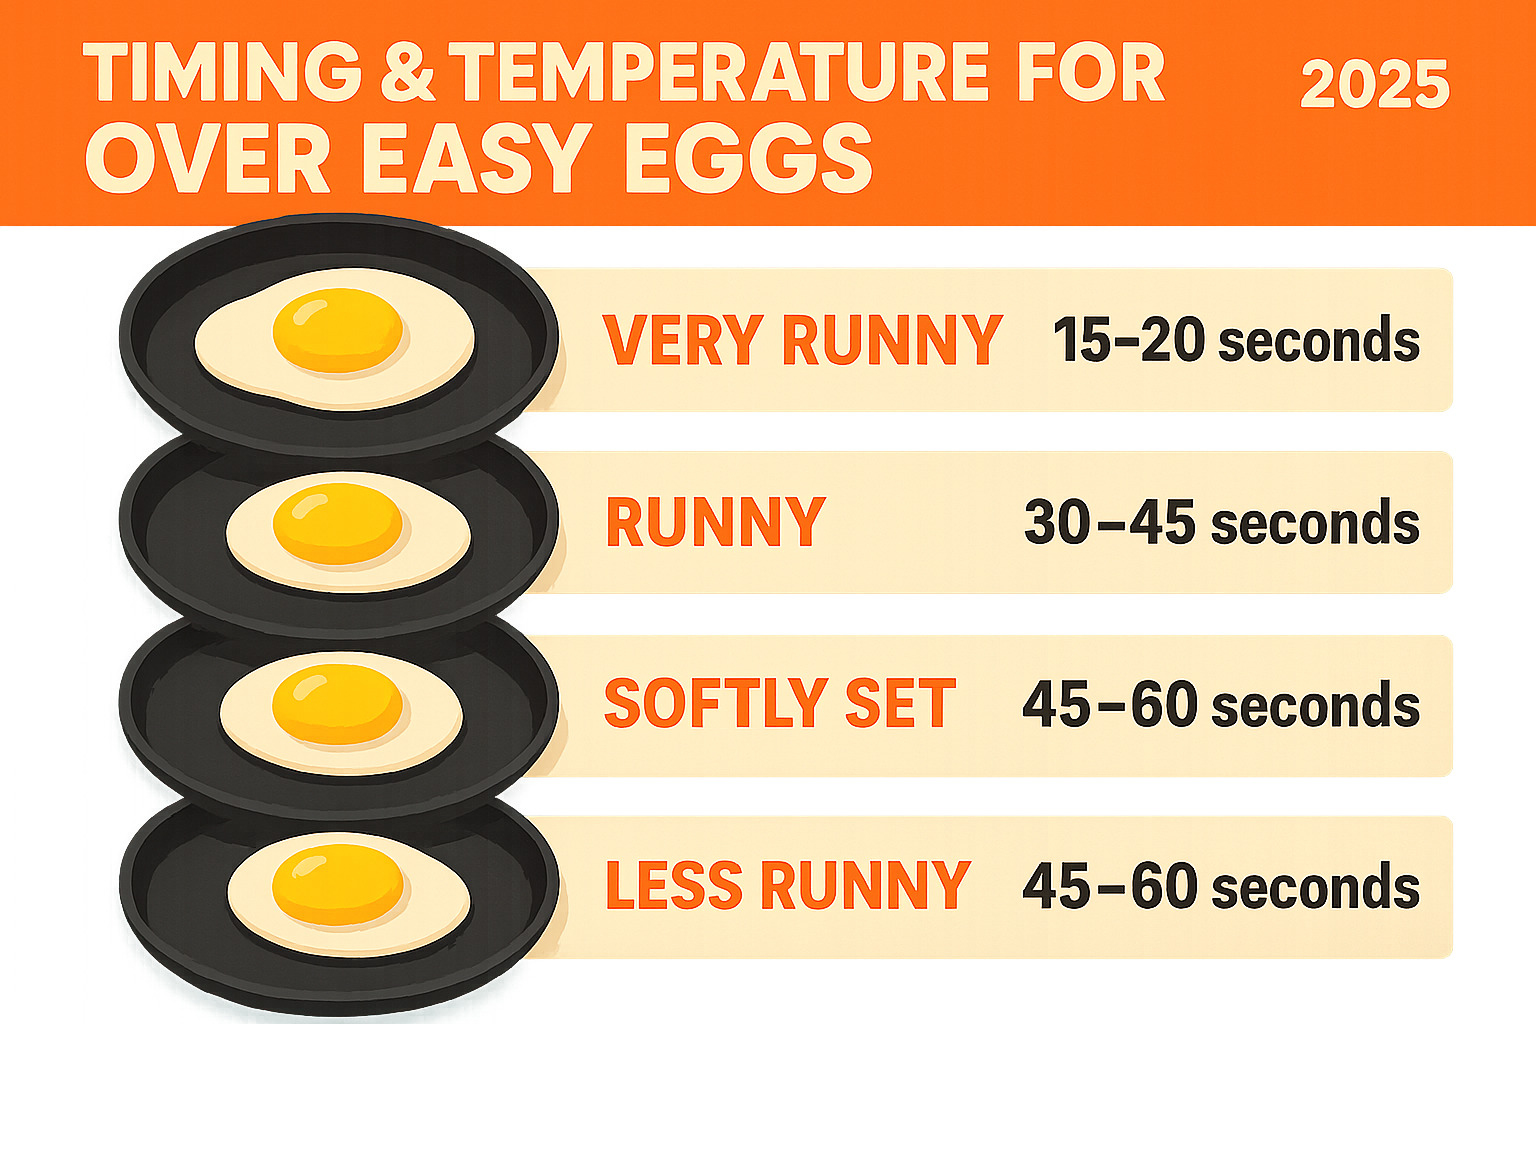
While visual cues trump strict timing every time, having a general timeframe helps build confidence. First side timing runs 1.5-2 minutes depending on how runny you want that final yolk. Second side cooking is where the magic happens quickly – just 15-60 seconds total.
The FDA officially recommends cooking eggs to 160°F for food safety, though over easy eggs typically reach 144-158°F. The brief cooking on both sides does reduce salmonella risk compared to sunny side up eggs.
Pro Tips, Seasoning & Common Mistakes to Avoid
The difference between good and great over easy eggs often comes down to the little details. Fresh eggs make the biggest impact – they hold their shape beautifully in the pan, have whites that set evenly, and produce gorgeous bright orange yolks.
Heat control separates the pros from the amateurs every time. Medium-low heat gives you control – you can watch the whites gradually turn opaque, time your flip perfectly, and avoid rubbery, overcooked disasters that happen with high heat.
The most heartbreaking mistakes happen when everything seems perfect, then suddenly goes wrong. Overcrowding your pan makes flipping nearly impossible. Using a tiny spatula practically guarantees broken yolks, while flipping too early creates a mess that’s impossible to salvage.
Salt timing matters more than you might think. Add salt while the whites are still wet and it penetrates evenly throughout. Save the pepper for after flipping – it burns easily when added too early.
Seasoning Over Easy Eggs for Maximum Flavor
Over easy eggs are like a blank canvas waiting for the right touches. That gorgeous runny yolk acts as a natural sauce, so your seasonings should complement its richness rather than compete with it.
The classic approach works beautifully: kosher salt goes on immediately, freshly cracked black pepper after the flip, and a pinch of flaky sea salt just before serving.
Want to get creative? Smoked paprika adds subtle smokiness. Everything bagel seasoning brings complexity with its mix of garlic, onion, sesame, and poppy seeds. Red pepper flakes provide gentle warmth without overwhelming the delicate egg flavor.
Fresh herbs transform ordinary eggs into something special. Chopped chives, dill, or tarragon add brightness and color. Check out our guide on why locally sourced ingredients make a difference to understand how fresher eggs and better seasonings lift your cooking.
Common Pitfalls & Fixes with Over Easy Eggs
Even experienced cooks have moments when over easy eggs don’t cooperate. Most problems have simple fixes once you understand what went wrong.
When your eggs cook painfully slowly, your pan isn’t hot enough. The butter should bubble gently, and oil should shimmer – if neither is happening, bump up the heat slightly.
Eggs that stick to the pan usually mean insufficient fat or improper pan preparation. For nonstick pans, check for scratches. For cast iron, make sure your seasoning is intact and the pan is properly preheated.
Broken yolks are usually preventable. Most breaks happen because of rough handling, tiny spatulas, or flipping from too high. Use a wide spatula that extends well past the yolk and move with confidence.
Rubbery, tough whites result from too much heat or overcooking. Once this happens, there’s no fixing it – but next time, stick to medium-low heat and remove the eggs promptly when done.
Serving, Storing and Food Safety
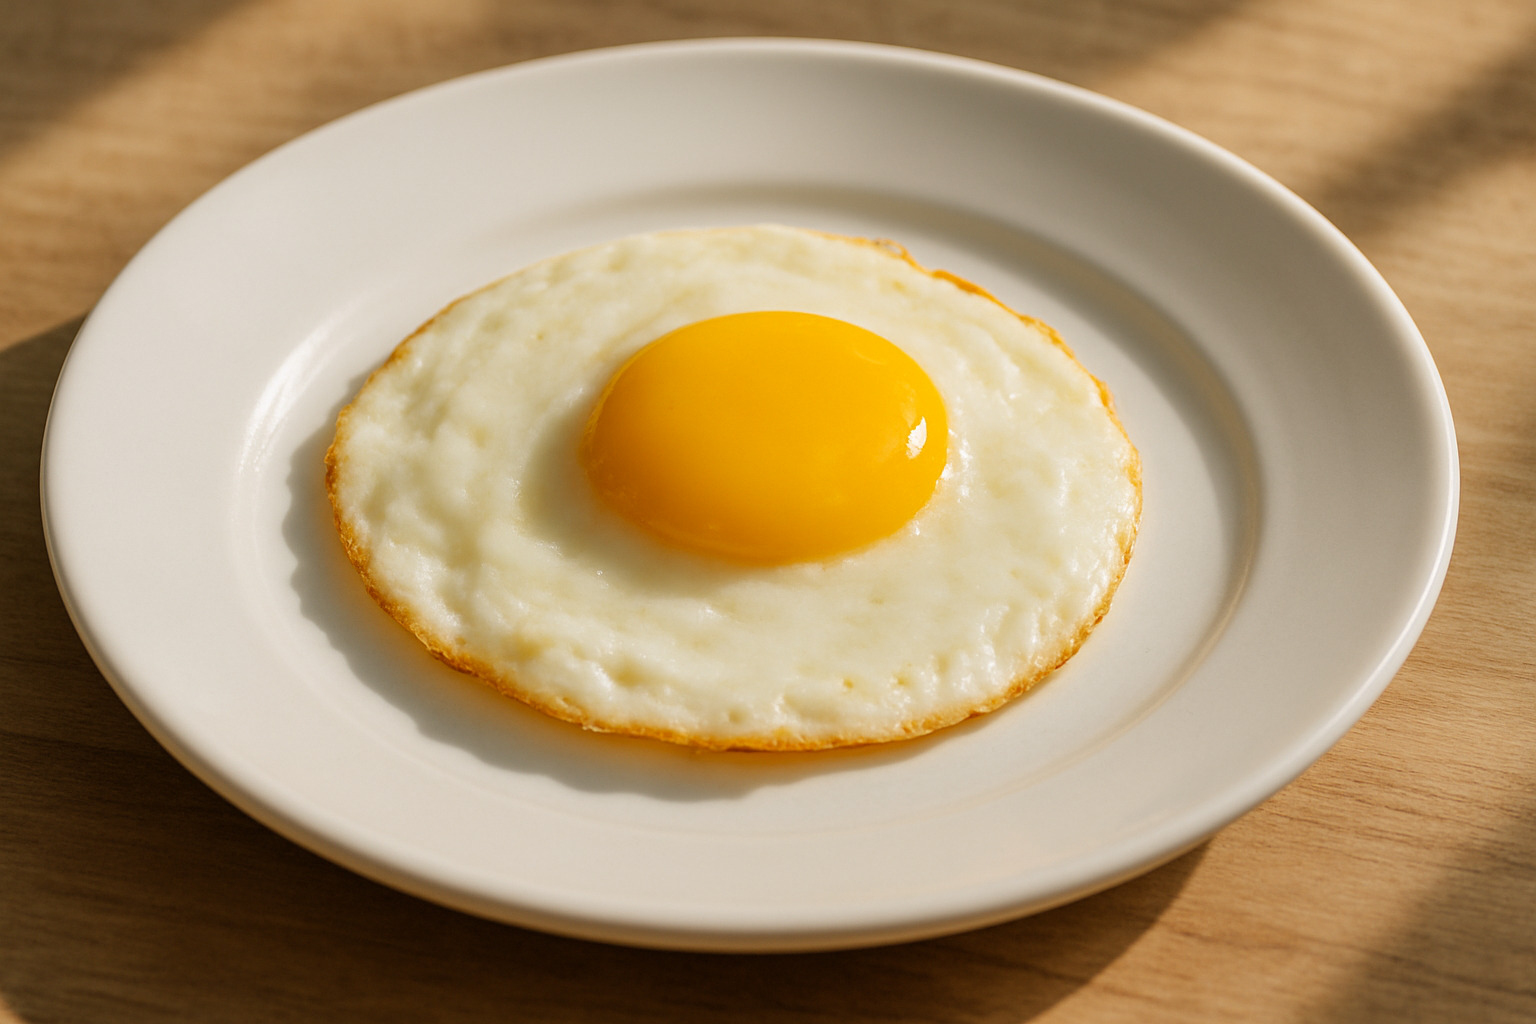
The magic of over easy eggs happens the moment they hit your plate – that golden yolk ready to break open and coat whatever it touches. These eggs truly shine when served immediately while still hot, with that runny yolk becoming nature’s perfect sauce.
When it comes to food safety, over easy eggs occupy a middle ground worth understanding. The FDA recommends cooking eggs to 160°F for complete safety, though over easy eggs typically reach 144-158°F during their brief cooking on both sides. This does reduce salmonella risk compared to sunny side up eggs.
For the safest approach, buy fresh eggs from reputable sources, store them properly in the refrigerator, and use them before their expiration date. People with compromised immune systems, pregnant women, young children, and elderly individuals should consider fully cooked eggs instead. According to the latest research on egg safety, proper handling and storage make the biggest difference in safety.
Over easy eggs don’t store well due to that liquid yolk that makes them so appealing fresh. If you must store leftovers, refrigerate immediately and use within one day maximum. Reheating isn’t recommended since the yolk becomes rubbery.
Creative Serving Ideas with Over Easy Eggs
The versatility of over easy eggs extends far beyond traditional breakfast plates. That golden, runny yolk transforms ordinary dishes into something memorable, adding both richness and protein to creative preparations.
Classic combinations never go out of style – over easy eggs on buttered sourdough toast with crispy bacon, or perched atop avocado toast with everything bagel seasoning. They’re perfect in breakfast sandwiches or served alongside roasted breakfast potatoes where the yolk creates an instant sauce.
But the real fun begins when you think beyond breakfast. These eggs make incredible burger toppings, adding richness that takes a good burger to the next level. They work beautifully on salads where the broken yolk creates an instant dressing.
Rice bowls become more satisfying with a over easy egg on top – think Korean bibimbap or hearty breakfast bowls with grains and vegetables. Some adventurous cooks even add them to pizza in the last few minutes of baking.
Frequently Asked Questions about Over Easy Eggs
How long should I cook over easy eggs on each side?
The timing for perfect over easy eggs is straightforward once you understand the basics. Cook them for 1.5-2 minutes on the first side until those whites transform from translucent to completely opaque, and the edges start looking dry.
After your confident flip, you only need 15-60 seconds on the second side. If you love that super runny yolk that flows like liquid gold, stick to 15-20 seconds. Want something still runny but slightly more set? Go for 45-60 seconds.
Visual cues matter way more than exact timing. Your stove might run hotter or cooler, and that changes everything. Watch for those whites to set completely before you flip.
Is butter or oil better for frying over easy eggs?
Both butter and oil can create amazing over easy eggs. The choice comes down to what you’re after in terms of flavor and texture.
Butter is the flavor champion – it brings that rich, nutty taste that makes eggs taste like they came from a fancy brunch spot. But butter can burn if your heat gets too high, so you need to stick with medium-low temperatures.
Neutral oils like avocado or sunflower oil are more forgiving with heat and create those crispy, golden edges that some people love. They won’t add much flavor, but they’re practically foolproof for beginners.
Want the best of both worlds? Many experienced cooks start with a little oil for temperature stability, then add butter for that finishing flavor.
Are over easy eggs safe to eat with a runny yolk?
Yes, there is some salmonella risk with runny yolks, but it’s relatively low when you handle eggs properly and buy from reputable sources.
The good news is that over easy eggs are actually safer than sunny side up eggs because that brief cooking on both sides does reduce the risk. According to the latest research on egg safety, the FDA recommends cooking eggs to 160°F for complete safety, while over easy eggs typically reach 144-158°F.
To minimize any risk, focus on the basics: buy fresh eggs from trusted sources, keep them properly refrigerated, and use them before the expiration date. Most healthy adults can enjoy over easy eggs without worry.
However, if you’re pregnant, have young children, are elderly, or have a compromised immune system, it’s worth considering fully cooked eggs instead.
Conclusion
Mastering over easy eggs opens up a world of breakfast possibilities that’ll make your mornings so much brighter. The simple technique we’ve shared – keeping heat at medium-low, watching for visual cues, and flipping with confidence – becomes second nature with practice.
What makes over easy eggs so special is that perfect combination of silky, fully-set whites surrounding a golden yolk that’s just waiting to become nature’s best sauce. Whether you’re creating the ultimate avocado toast, building an epic breakfast sandwich, or adding richness to a simple rice bowl, these eggs make everything taste better.
Here at The Dining Destination, we’re passionate about helping food lovers master these fundamental techniques that build real confidence in the kitchen. Don’t worry if your first few attempts aren’t Instagram-perfect – even eggs with broken yolks taste absolutely delicious.
The beauty of cooking is in the experimentation. Try different seasonings, play with creative serving ideas, and make this technique your own. We’d love to hear about your over easy egg trips and see how you’re using this skill in your own kitchen creations.
Once you’ve got this technique down pat, why not take your food trips global? Explore our comprehensive guide to the best food destinations and find amazing egg dishes from around the world – from perfectly executed French oeufs au plat to the incredible egg preparations you’ll find in New York City’s diverse culinary scene.
Happy cooking, and remember – every great chef started with learning how to crack an egg!



2 thoughts on “One Simple Way to Cook Over Easy Eggs Perfectly Every Time”
Pingback: The Complete Guide to Rigatoni Pasta - The Dining Destination
Pingback: How to Master Waffle Recipes in 30 Days - The Dining Destination
Comments are closed.